I almost forgot that I promised a tutorial on binding a quilt totally by machine without using pins. Are you ready?
First, stitch the binding onto the
FRONT of the quilt. Yes, I know this is contrary to the conventional way, but this is a not very conventional binding method.
After you have the binding sewn onto the FRONT, mitering the corners, trim your quilt.
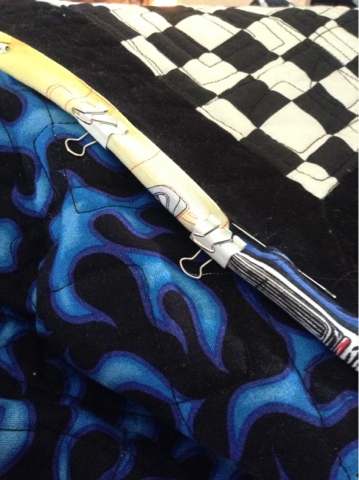
Next you need some of this thread. I love this stuff. Wind a bobbin with it and insert it into your machine.
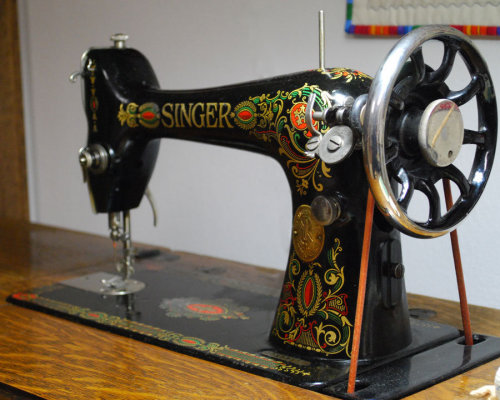
Make sure you have your zig-zag foot and sole plate on your machine.
Pick a wide enough zig-zag so you go off the edge of the quilt, but you stay away from the stitching line where you attached the binding. Zig-zag all the way around the quilt using normal thread on top but the fusible thread in the bobbin. Okay, break time. Go get a drink of your favorite beverage and relax those tense neck and shoulder muscles.
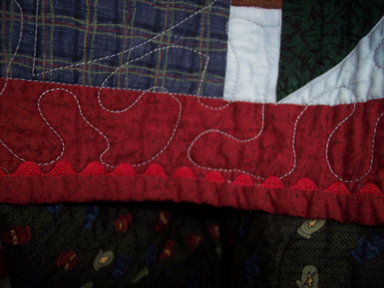
Are you back? Here's what the back side of the quilt edge will look like.
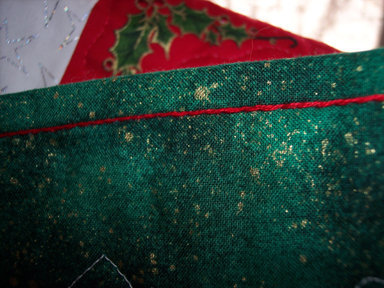
All right, you need to take the quilt over to your ironing surface. Tautly pull the binding around to the back side of the quilt. covering zig-zaged fusible thread AND the straight stitching line and following the settings of the thread, iron/fuse the binding down. I usually have my iron set to COOK and it seems to work all right.
Go get another drink. That was a lot of hot work.
It's time for the next to the last step. This one is extremely important:
CHANGE YOUR BOBBIN. Take that fusible thread out of the bobbin casing and put in a thread that matches the binding.
Last step. I have a Bernina and use my #5 foot that has the edge stitch on it. My machine settings are just a normal straight stitch. Turn your quilt so that the top is up and then stitch in the ditch at the binding to stitch down the binding on the back. If you did a good job in the ironing/fusing step, there should be no skippers and the binding should be caught all the way around.
If you cut a 2.5" binding and fold it in half and do this technique, be aware that you will have a bit of a flange on the backside. I like to cut my binding at 2.25" and then fold in half. The stitching just barely catches the edge of the binding on back and I think it looks much nicer. This is a wonderful way to machine stitch a binding onto donation quilts that will see a lot of machine washing. YMMV.