Showing posts with label scarf. Show all posts

09 October 2015

On the needles. October 9, 2015

Another Friday is here and I have two, count them, two things.


I've been working on a cowl called Lava Flow, the link goes to the free download Ravelry page. My yarn is a soft pale pink 100% merino wool. Unfortunately, I don't think the intended recipient likes to wear this color. But it's all good because I have some acid dye for wool. I only have one color, but I think she likes black/gray so I'm going to try it and hope for the best.

This scarf is knitted flat in a 2x2 rib with a 12 stitch cable. After blocking the ends are grafted together. I am going to put it through the dye bath and then block it. There are live stitches at one end, see that neon yarn peeking through, and a provisional cast on at the other end so it will be easy to pick up the stitches for grafting. I just looked up a YouTube video on how to do grafting for ribbing and I'm glad I did because there is just a slight bit of difference between doing it on ribbing vs. stocknette.

In the meantime, I started another sweater called Crayon Stripes from the "Knitting Cuff to Cuff" book, link to Ravelry page. If I am going to wear stripes, I prefer that the stripes are vertical rather than horizontal and this sweater pattern will work. The pattern calls for Noro Kureyon, but I'm using Lionbrand Amazing in the colorway 'Violets' from my stash yarn. This will interesting because I normally do not wear purple.

What's on your needles? Linking up to JudyL's On The Needles. 


16 February 2012

Can you stand more knitting?

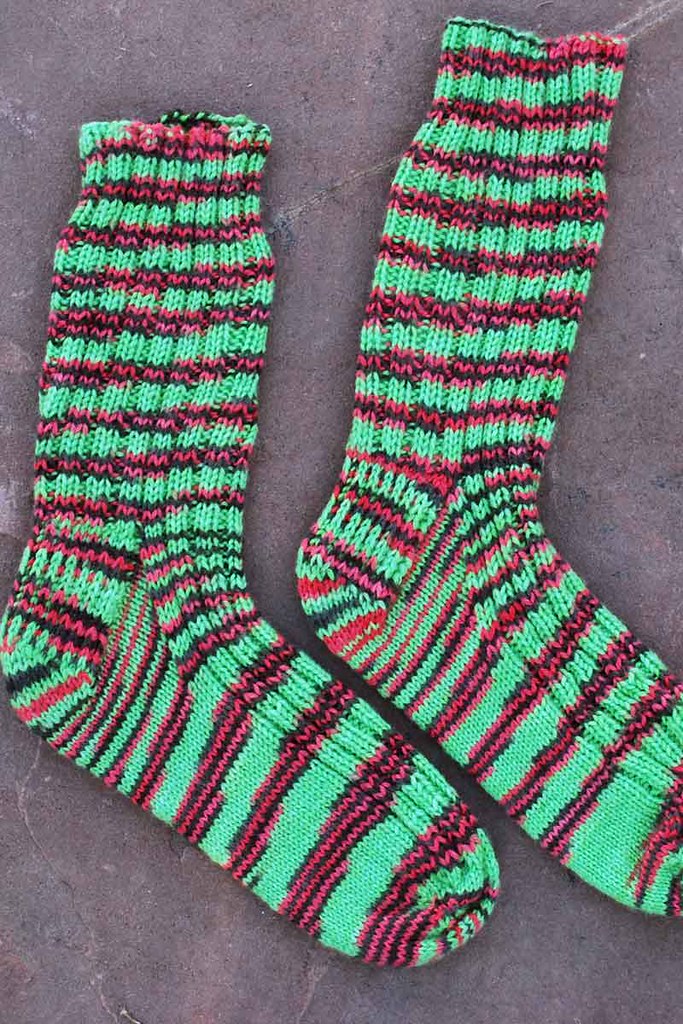
I am almost finished with the 'for sale' knitting. Really. The socks are the last of the hired knitting. The cowl is made from yarn sent to me from McIrish Annie. Whew! One more pair of mitts for the same friend I gave the strippie quilt to and then I can get back to quilting.

The socks are knit from KnitPicks.com yarn called Stroll. It is a very hard-wearing yarn.

06 December 2011

How to make a ribbon scarf

I was asked if I would explain how I made the ribbon scarf. It is really very simple. Start with Sulky Solvy which is a water soluble stabilizer. Mine was old and and some was missing due to being used so I do not know how long it was, but I'd guess about 36" by the width of the stabilizer.

Since I am out of the stabilizer, I'll show the next step using waxed paper. Open the stabilizer flat and if you want to, spray it lightly with a bit of washable spray adhesive as this will keep the fibers from shifting. Lay the fibers on half of the stabilizer lengthwise, leaving tails at each end. Fold the other half of the stabilizer over the fiber-covered half. Pin the edges and transport it carefully to your sewing machine.

Put a walking foot on your sewing machine and stitch across the fibers every inch or so and then do a large  'x' to further stabilize the fibers.

Now comes the tedious part. Carefully remove the stabilizer from the stitching lines. You do not have to get it all out from under the stitches. Once you have the larger pieces of the stabilizer removed , dunk the scarf in a bowl or basin of warm water and swish around. I let it sit in the water for about 2-3 minutes. Remove from the bowl and roll the scarf into a terry towel to squeeze out the remaining water. Block or dry flat.

That's all there is to it! Here's a photo of the finished product again.