
Materials
• man's dress shirt; the larger the shirt size the longer the sleeve and therefore it makes a larger bag holder
• scissors and or rotary cutter
• rotary ruler and mat
• marker of some sort
• ribbon, any width up to ½"
• elastic, any width and shorter than the width of the cuff by about 1½-2"
• sewing machine
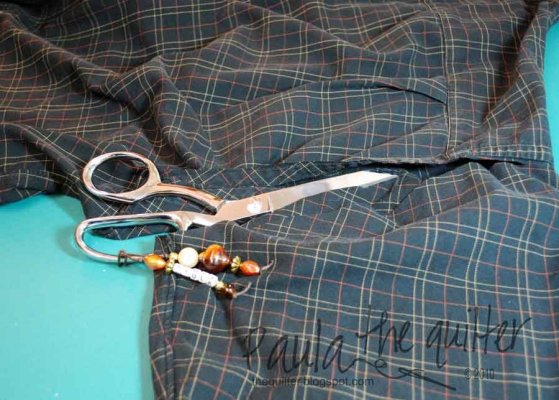
Start by cutting off the sleeve. Snip, snip.
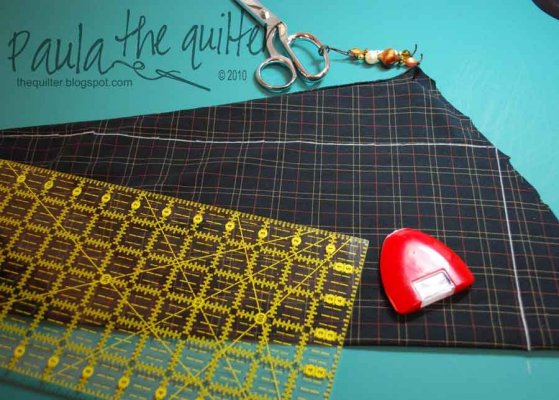
You can see the shape of the sleeve in the next photo. I like to square up the seam edge and the top.
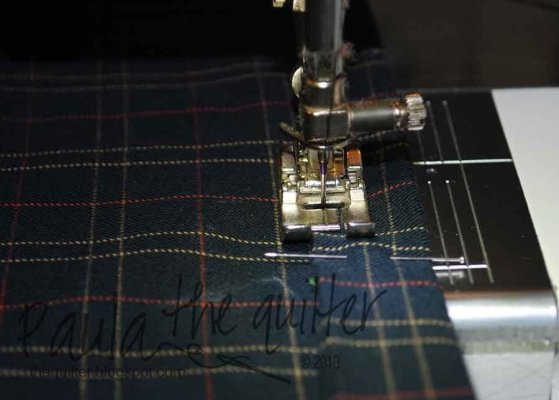
Once you have this cut and before you stitch the seam, open the sleeve flat and fold down ¼" along the top edge and press. Fold down again (I did about ½" for the second fold) to form a casing for your ribbon. Press.
Stitch the folds down right along the edge like in the next photo.
Now it is time to stitch up the seam. Match the edges and pin leaving the top edge open where the casing is so you have a way to thread the ribbon through. Stitch the seam closed. If you forget and stitch the seam closed all the way from bottom to top you will have to either open the seam a bit or cut a slit in the casing for the ribbon. Once you have the sleeve closed back up you can thread the ribbon through the casing. Tie the ends of the ribbon together with an overhand knot.
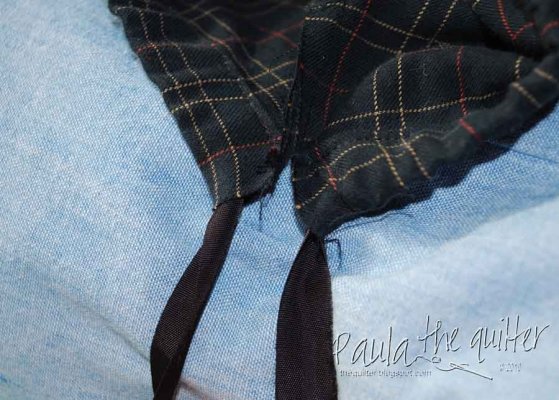
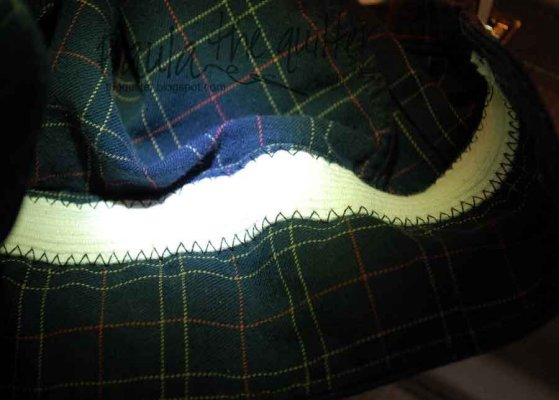
You can stitch the elastic on now. I placed the elastic in this sleeve right at the upper edge between the buttons and the sleeve/cuff seam. Stitch the elastic on for about 1" and then stretch it to the other edge as you stitch the rest, turn and go back down the other edge of the elastic. If you used a narrower elastic than I did, you should only have to zigzag or straight stitch down the middle. Don't make your elastic too short, you want to be able to get the bags out.
Turn the sleeve right side out and stitch the placket closed. For those that don't know the terminology, that is the opening in the sleeve at the bottom where the cuff opens.
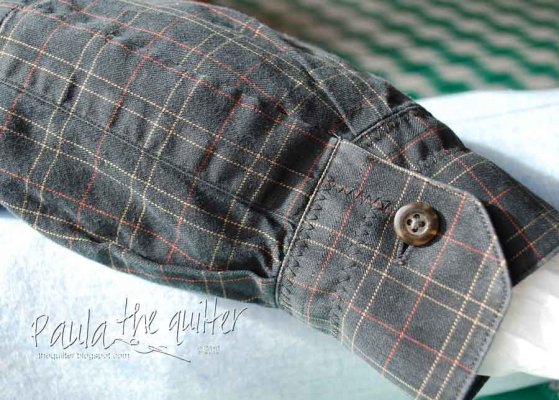
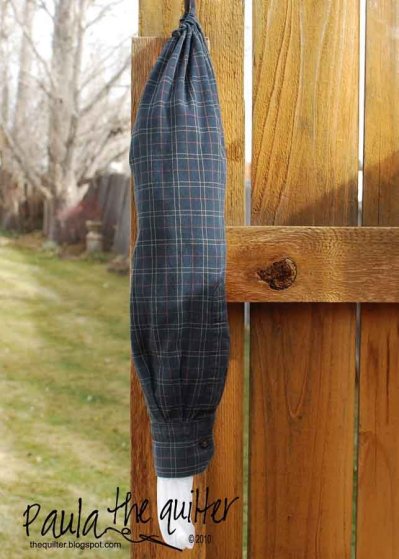
Button the cuff and hang up your plastic bag dispenser. I stuff the bags in from the top and pull them out from the bottom.
In hindsight, I should have used a lighter colored shirt so you could see the steps better. O well. *shrug*
If you want more pattern ideas for one of these bag dispensers, search for "plastic bag dispenser pattern" and a WHOLE LOT will come up. Have fun with this!
Great idea - may have to make some for Christmas. Thanks for the tutorial.
ReplyDeleteOh my - you are the busy Santa's helper girl! Cute idea with the man's shirt - I hadn't ever thought of that. And I love the yo-yo tree, too. Great ideas. Thanks, Paula.
ReplyDeleteWhat a neat idea Paula. I think I will have to give that a try. I just stuff my bags between the counter end and the side of the 'frig. Not pretty, but handy. The sleeve would be much nicer. Thanks for sharing the steps! Hugs, Finn
ReplyDeletePaula, this is a great idea and a wonderful way to recycle....love it!!!
ReplyDeleteNow that is a great and quick idea - thanks for sharing Paula!!
ReplyDeleteGreat idea Paula! Thanks for sharing!
ReplyDeleteVERY CLEVER!!! (I like the way you set up the photo in the end, too)
ReplyDeleteThats a great idea, and fun too!
ReplyDeleteOh nice! Great to hold my "dog walking bags"!
ReplyDeleteThanks
Vicki
Very clever. I need to make one of these. Thanks for the tutorial.
ReplyDeleteGreat idea!!! Thanks!
ReplyDelete