Showing posts with label tutorial. Show all posts

17 August 2016

Using The Setting Triangle

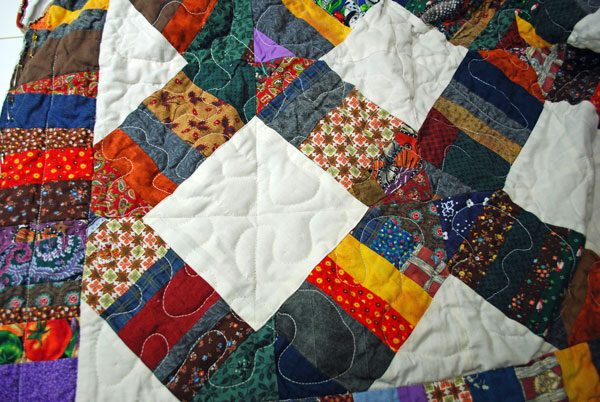
I have avoided putting quilts on point because of the chore of trying to figure out what size square to cut and then slice in an X. I bought this ruler many years ago and I haven't used it! Until now.

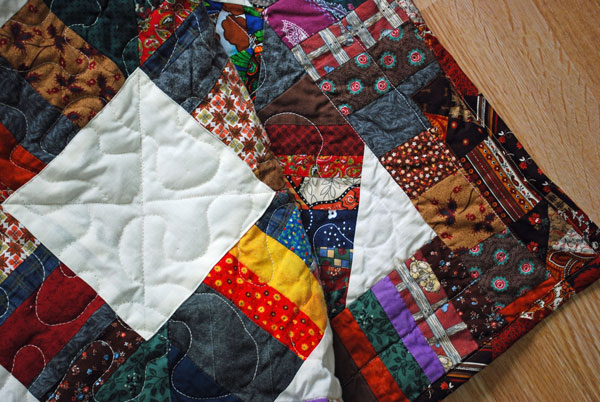
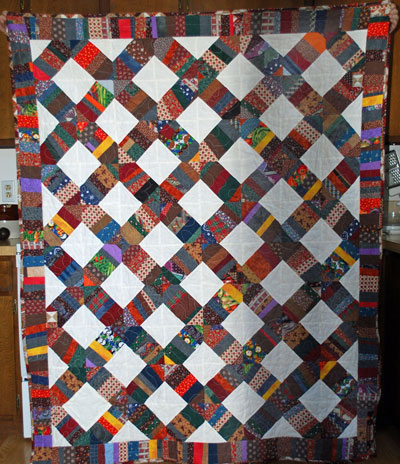
I am made a Quilt of Valor that I am simply calling Rails and Squares. I haven't used my Singer Featherweight in a while and I thought it was time to dust her off and make a quick quilt. 
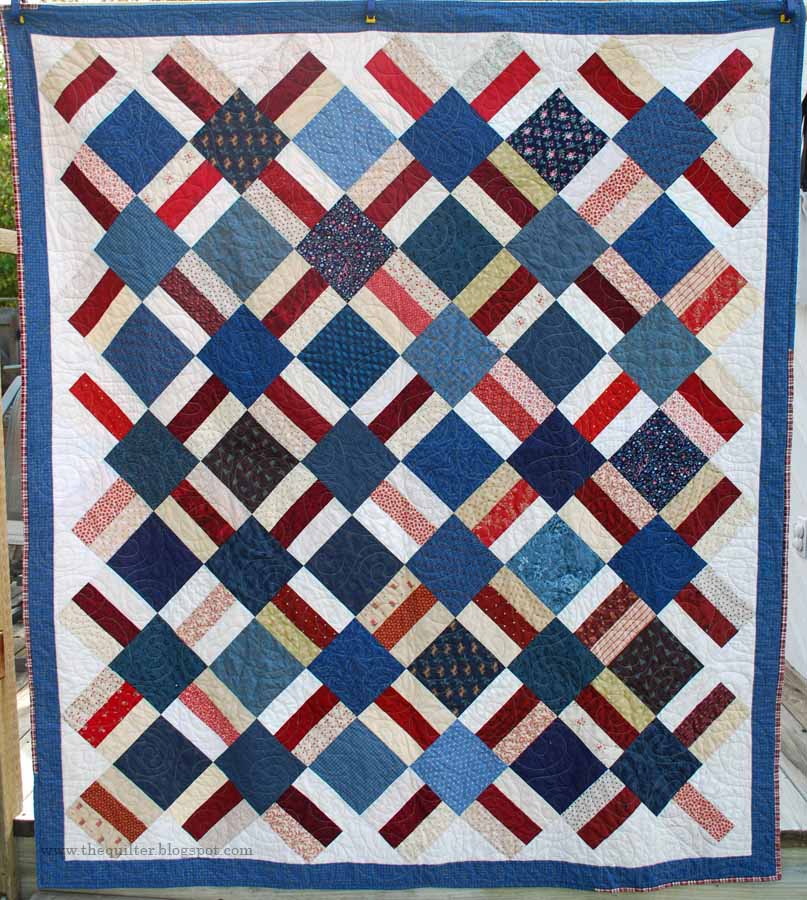


So here are the specifics to make this quilt if you want to make it:
• Cut 42 squares at 6.5" x 6.5"
• Cut your rails at 2.5" wide by WOF (width of fabric). Since my quilt is entirely of scraps some of the strips were shorter. Don't use strips any shorter than 6.5"
• Sew the lighter strips to each side of the medium/dark strips, my middle strips are all reds.
• Cut the strips into 6.5" squares
• The layout is the tricky part. Notice how the rails alternate directions? Start with the longest diagonal row (I went from upper right to lower left) and lay out the blocks. Then continue building from there. Sew the blocks together in diagonal rows.
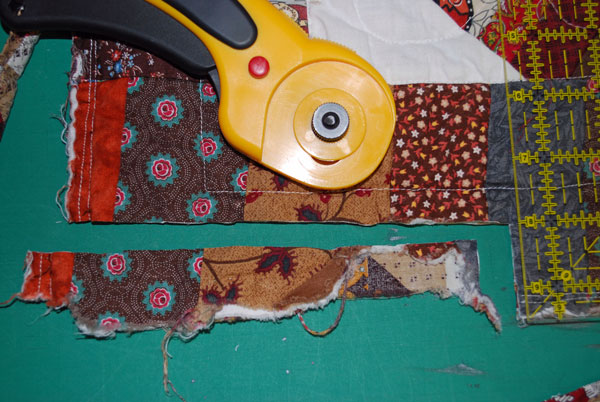
• For the setting triangles I used "The Setting Triangle" ruler. Using the ruler, I cut a strip at 5 1/8" wide and then placed The Setting Triangle on the strip with the 90° angle at the top and the line along the bottom of the edge of your strip and cut on both sides of the triangle. Then I rotated the triangle 180° and cut another triangle. The long edge of the setting triangle is on the straight grain.
Woohoo!


• For the corner triangles, I used the 7" line and cut two triangles. Then I cut the triangles in half from the 90 degree angle to the base. This puts the long edge of the corner triangle on the bias and the outside edges on the straight of grain. Don't worry, there are instructions online if you need them.
• The edges will need to be squared up.


You are going to be seeing a lot more of my quilts on point now.

21 June 2013

Garter Stitch Short Row Heel and Toe

Garter Stitch Short Row Heel and Toe

Are you ready for another heel and toe episode? This post will be photo heavy and like always, the photos are clickable.

I must confess that I have made this heel and toe before and I DO like it.
It surprised me that I was actually able to match up the stripes. I usually don't get that effect and don't strive to make it happen. Serendipity.

This is a nice short row heel that uses a different strand of yarn for the heel than what was used in the rest of the sock. If you have someone who wears out a heel, then use this heel so you can easily remove the it, pick up the live stitches and knit another one.

To start, drop the main yarn used for the sock. Don't cut it because you will be using it after you finish the heel. I usually stick the whole skein inside the shaft of the sock leg to keep it out of the way. This is an opportunity to use another color like, say, black or red for the heel if you want. To make a nice fitting heel I usually knit this heel over 60% of the stitches. In this case, I had 36 stitches on the heel needle.
Link the tail of the new yarn around the working yarn. I will then knit the next three stitches using both strands of the new yarn so it gets anchored. Then drop the actual tail and continue to knit until there is one stitch left on the left needle.
At this point slip that last stitch onto the right needle, bring the yarn around to front wrapping that stitch. Now turn the work around and once again knit until there is one stitch left on the left needle. Slip that stitch, wrap the yarn, turn and start knitting again.
Knit until one stitch before the wrapped stitch. (You can tell the wrapped stitch because it will be wearing a little necklace of yarn.) Slip the stitch before the wrapped stitch, put the yarn between the needles and turn your work.

Start knitting until you once again are at the stitch before the wrapped stitch. Keep up this rhythm until you have approximately 8 unwrapped stitches in the middle of your work. You should have an equal number of wrapped stitches on each side of these unwrapped ones.

Now it's just a matter of increasing the stitches again. Knit the 8 unwrapped stitches and then knit one previously wrapped stitch, slip the next wrapped stitch, put the yarn between the two needles, replace the slipped stitch onto the left needle, turn.

Knit until you get to the next wrapped stitch, knit it, slip the next wrapped stitch, put the yarn between the two needles, replace the stitch, turn.

Lather, rinse, repeat.

This makes a wonderful fitting heel albeit fiddly to do.

The toe is worked as follows:
Rnd1: K1, ssk, knit to 3 stitches before the end, k2tog, k1
Rnd2: purl
Rnd3: knit
Rnd4: purl
Repeat these four rows once more.

Now repeat rnds 1 and 2 for 4-8 rows.

Do the following two rounds until you have your desired number of toe stitches left. I like a very rounded toe, so I usually leave 10-12 stitches on each needle (20-24 stitches total).
Rnd 1A: K1, ssk, knit to 3 stitches before the end, k2tog, k1
Rnd 1B: p1, ssp, purl to 3 stitches before the end, p2tog, p1

Whew! It was a difficult thing to take photos in the middle of turning a heel. This is probably clear as mud, huh?

For more On The Needles, visit JudyL.

24 July 2012

Machine Binding Without Pins Tutorial

I almost forgot that I promised a tutorial on binding a quilt totally by machine without using pins. Are you ready?

First, stitch the binding onto the FRONT of the quilt. Yes, I know this is contrary to the conventional way, but this is a not very conventional binding method.

After you have the binding sewn onto the FRONT, mitering the corners, trim your quilt.

Next you need some of this thread. I love this stuff. Wind a bobbin with it and insert it into your machine.

Make sure you have your zig-zag foot and sole plate on your machine.

Pick a wide enough zig-zag so you go off the edge of the quilt, but you stay away from the stitching line where you attached the binding. Zig-zag all the way around the quilt using normal thread on top but the fusible thread in the bobbin. Okay, break time. Go get a drink of your favorite beverage and relax those tense neck and shoulder muscles.

Are you back? Here's what the back side of the quilt edge will look like.

All right, you need to take the quilt over to your ironing surface. Tautly pull the binding around to the back side of the quilt. covering zig-zaged fusible thread AND the straight stitching line and following the settings of the thread, iron/fuse the binding down. I usually have my iron set to COOK and it seems to work all right.

Go get another drink. That was a lot of hot work.

It's time for the next to the last step. This one is extremely important: CHANGE YOUR BOBBIN. Take that fusible thread out of the bobbin casing and put in a thread that matches the binding.

Last step. I have a Bernina and use my #5 foot that has the edge stitch on it. My machine settings are just a normal straight stitch. Turn your quilt so that the top is up and then stitch in the ditch at the binding to stitch down the binding on the back. If you did a good job in the ironing/fusing step, there should be no skippers and the binding should be caught all the way around.

If you cut a 2.5" binding and fold it in half and do this technique, be aware that you will have a bit of a flange on the backside. I like to cut my binding at 2.25" and then fold in half. The stitching just barely catches the edge of the binding on back and I think it looks much nicer. This is a wonderful way to machine stitch a binding onto donation quilts that will see a lot of machine washing. YMMV.

10 April 2012

Fail Saved

For the yearly guild retreat, I took several quilt kits that I had pre-cut. One of them was this one from the Moda Bake Shop: American Glory. What I forgot to include in the kit was either the EZ Angle ruler (link goes to a tute) or some Thangles to make the half square triangles. What's a quilter to do? Out came the ruler and pencil and I drew lines on the light fabric. It would have worked too, but because of several measurement errors (moi? make a mistake?) some of the HST were the wrong size. The pieces and parts were repackaged to trim down at home.

I don't know about you, but I have a hard time keeping my ruler from slipping when I'm trimming down HST. Anyone else have this problem? Since there are a lot of HST, an easier method is required. Bloc-Loc to the rescue. Remember that old adage about the right tool for the job? THIS is the right tool for trimming HST.
Update: here's a link for the shopping website of this ruler: http://usaus.us/cart/quilting-rulers-c-12.html

Oh how I love this Bloc-Loc ruler! It is making cutting down these HST so much easier.  See that 'double line' down the diagonal? That is actually carved out on the back of the ruler so it snugs up to the seam.


Before you start, press your HST so that the seams are flat flat flat. No smiley lips like you see on this one.
Lay the Bloc-Loc ruler on the HST. I will be trimming this HST to 3"; see how the number 3 is both on the horizontal and vertical sides of the ruler? Make sure the diagonal of the ruler is on the seam and trim.
Here there are two sides of the block trimmed down. Now, turn the block 180°. If you try to fit the ruler up against the seam after turning the block, it won't work right.
You need to swivel the ruler 180° also. See? You can read the label on the ruler now. Okay, go ahead and trim the other two sides of the block.
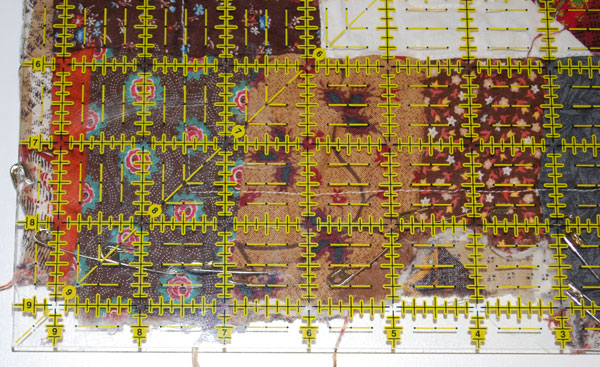
Here are the piles of trimmed pieces. More of the HST need to be trimmed down.

I said it once and I'll say it again: I love my Bloc-Loc ruler. In fact, I am going to buy the set for the two different Flying Geese. Try the ruler, you'll like it. I have no affiliation to Bloc-Loc, I'm just a happy customer.

**Update: After I trimmed down all the pieces and parts, I realized I had enough HST to make another whole quilt! So I proceeded to cut more squares and rails.

14 March 2012

Hanging Sleeve Tutorial

This is not going to be a tutorial on how to make a hanging sleeve for a quilt because there is a wonderful video tutorial by AQS's Bonnie Browning available on youtube. Bonnie explains how to add a sleeve or rod pocket to your quilt for entry into an AQS quilt show.

No, what I am going to show you is how I hand stitch that sleeve/rod pocket to the top of the quilt.

I tie a quilter's knot in the end of the thread and insert the needle somewhere about an inch from where it needs to come up next to the sleeve. Tugging on the thread a bit, I pop the knot in between the layers of the quilt. Then I bring the thread up through the very edge of the sleeve and then back down right next to the stitch and feed the needle through the layers pulling the needle through about 1/8" away. The second and third stitch are made the same way. This is pretty standard stuff. It is the fourth stitch that is just a bit different.


On the fourth stitch I go ALL THE WAY THROUGH the three layers to the front of the quilt. Taking an itty bitty stitch on the front, the needle then goes all the way through to the back again. The second photo shows the front of the quilt and if you enlarge it, you might be able to see the line of itty bitty stitches. Or not.


Why do I sew on the sleeve this way? Quilts are heavy, right? If the weight of that quilt is hanging only from the back, there is the possibility of a rip. Now we don't want that! So putting every third or forth stitch all the through the quilt, helps to distribute all that weight. I hope this helps prevent a disaster in your quilt making.

06 December 2011

How to make a ribbon scarf

I was asked if I would explain how I made the ribbon scarf. It is really very simple. Start with Sulky Solvy which is a water soluble stabilizer. Mine was old and and some was missing due to being used so I do not know how long it was, but I'd guess about 36" by the width of the stabilizer.

Since I am out of the stabilizer, I'll show the next step using waxed paper. Open the stabilizer flat and if you want to, spray it lightly with a bit of washable spray adhesive as this will keep the fibers from shifting. Lay the fibers on half of the stabilizer lengthwise, leaving tails at each end. Fold the other half of the stabilizer over the fiber-covered half. Pin the edges and transport it carefully to your sewing machine.

Put a walking foot on your sewing machine and stitch across the fibers every inch or so and then do a large  'x' to further stabilize the fibers.

Now comes the tedious part. Carefully remove the stabilizer from the stitching lines. You do not have to get it all out from under the stitches. Once you have the larger pieces of the stabilizer removed , dunk the scarf in a bowl or basin of warm water and swish around. I let it sit in the water for about 2-3 minutes. Remove from the bowl and roll the scarf into a terry towel to squeeze out the remaining water. Block or dry flat.

That's all there is to it! Here's a photo of the finished product again.

22 November 2010

Need a quick gift idea?

It occurred to me when I got the request from TheKid for one of these quick-to-make plastic bag dispensers that it would make a good tutorial for the blog. These bag dispensers are made from the sleeve of a man's dress shirt and take about 30 minutes to make start to finish, no joke. Now you can either raid your man's closet or pick up a shirt at the thrift store. Go with the second option as it causes less friction in the household. *smile*

Materials
• man's dress shirt; the larger the shirt size the longer the sleeve and therefore it makes a larger bag holder
• scissors and or rotary cutter
• rotary ruler and mat
• marker of some sort
• ribbon, any width up to ½"
• elastic, any width and shorter than the width of the cuff by about 1½-2"
• sewing machine

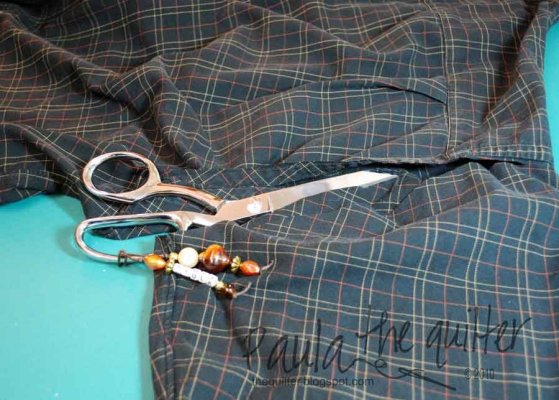
Start by cutting off the sleeve. Snip, snip.

393465536

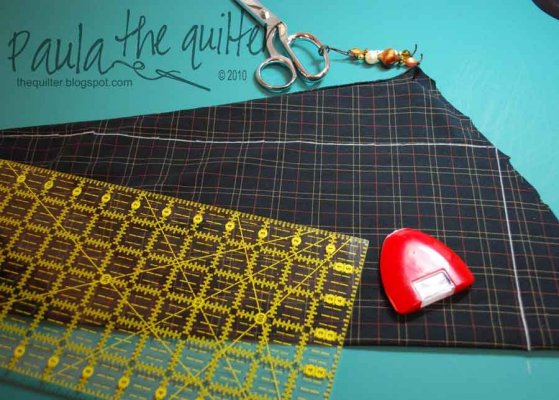
You can see the shape of the sleeve in the next photo. I like to square up the seam edge and the top.

393465537

Once you have this cut and before you stitch the seam, open the sleeve flat and fold down ¼" along the top edge and press. Fold down again (I did about ½" for the second fold) to form a casing for your ribbon. Press.
 

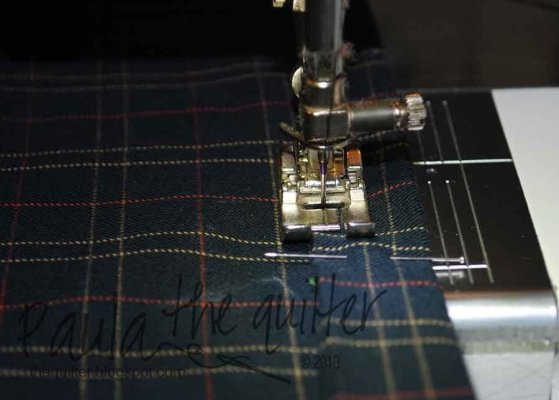
Stitch the folds down right along the edge like in the next photo.

393465539

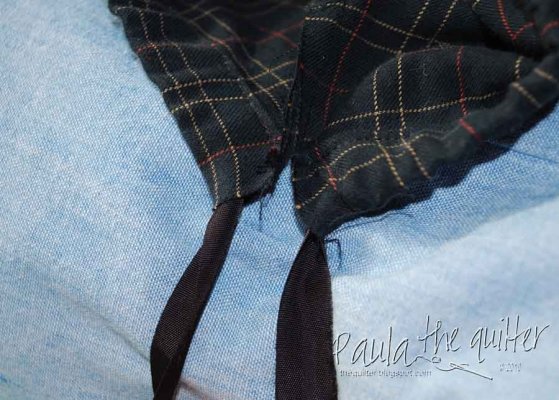
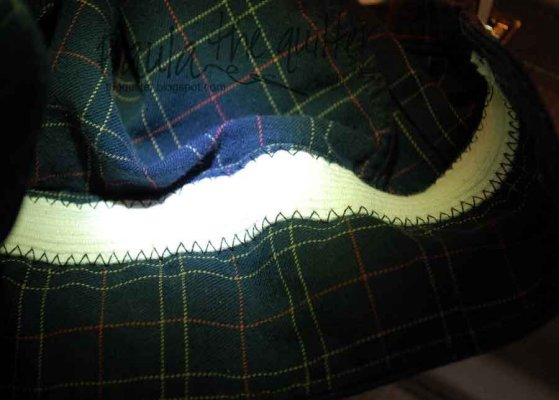
Now it is time to stitch up the seam. Match the edges and pin leaving the top edge open where the casing is so you have a way to thread the ribbon through. Stitch the seam closed. If you forget and stitch the seam closed all the way from bottom to top you will have to either open the seam a bit or cut a slit in the casing for the ribbon. Once you have the sleeve closed back up you can thread the ribbon through the casing. Tie the ends of the ribbon together with an overhand knot.

393506677

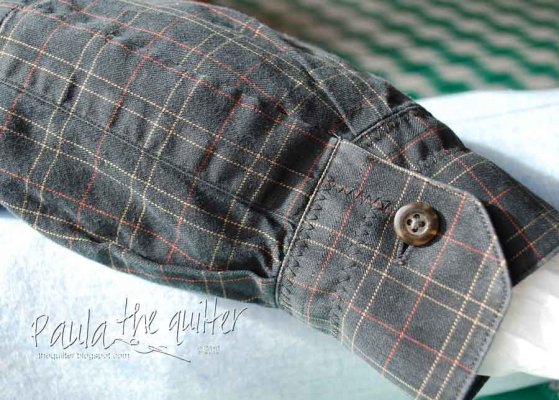
You can stitch the elastic on now. I placed the elastic in this sleeve right at the upper edge between the buttons and the sleeve/cuff seam. Stitch the elastic on for about 1" and then stretch it to the other edge as you stitch the rest, turn and go back down the other edge of the elastic. If you used a narrower elastic than I did, you should only have to zigzag or straight stitch down the middle. Don't make your elastic too short, you want to be able to get the bags out.
393465540

Turn the sleeve right side out and stitch the placket closed. For those that don't know the terminology, that is the opening in the sleeve at the bottom where the cuff opens.

393506679

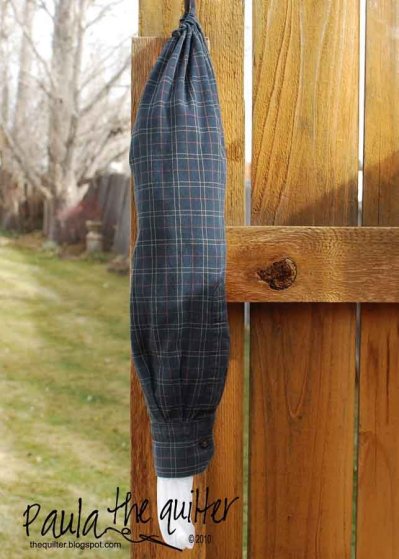
Button the cuff and hang up your plastic bag dispenser. I stuff the bags in from the top and pull them out from the bottom.

393506676

In hindsight, I should have used a lighter colored shirt so you could see the steps better. O well. *shrug*

If you want more pattern ideas for one of these bag dispensers, search for "plastic bag dispenser pattern" and a WHOLE LOT will come up. Have fun with this!

18 April 2010

Quilting Tutorials

Look. See it up there? In the menu bar right under my header. I've added a Page of just the quilting tips and tutorials I have given over the years. Now they are easy to find, since some of these tutes are pretty old. Enjoy!

31 January 2010

Repairing a Quilt

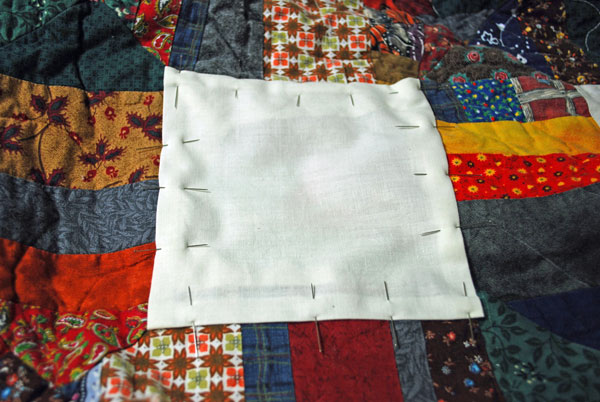
The large hole turned out to be the easiest to fix and was it located fairly close to a corner. With the quilt washed, I removed the label, the quilting and all the binding in both affected corners. By removing the quilting stitches around the hole all the way to the edges on both sides, I could 'peel' back the layers. The backing was easy to do, as I just cut a new piece of the very same backing fabric large enough to cover the hole and extend off of the two sides. I ironed under a 3/8" seam allowance and top-stitched the large patch in place through the backing and the batting. Then I got to work on the front. The easiest was to just applique a patch over the hole. The original area was made of 4 triangles that formed a square. The patch I made was a rectangle that I straight stitched down. I overlapped the new fabric quite a bit on the really chewed spot. You can see it in the show through at the bottom of the photo.

DSC_0222-th

After stitching down the patch, I trimmed the old chewed up edges off so there wouldn't be as much show through. A piece of batting was cut to fill the void and the whole area was then pin basted.

DSC_0223-th

The first thing I did was straight line stitch from corner to corner in the new block to make it look like the rest -- a fool the eye thing. The old meandered quilting stitches that were removed left needle holes that I was able to follow  for the rest of the quilting.

DSC_0224-th

Here is the patch on the front after quilting. I am not going to show the back because the fabric is so busy you would not be able to see much.  I then turned my attention to the other nibbled corner. The dog only took out about a section that was 6 inches wide by 1/2 inch deep, but that included the binding. I am so glad I used the same fabric for the binding that I used for the backing because I have a bolt of that stuff. Yes, I do and it makes wonderful busy backings.

DSC_0227-th

 Once again the binding was removed so that I could work in the area. Then I straightened up the edge a bit.

DSC_0228-th

I cut a large piece of the backing fabric, turned under one short end and pressed. The fabric patch was placed face down on the straight edge (cut in the previous photo) on the backing side of the quilt. Batting was added on top and then machine stitched through all layers; the batting was trimmed out from the seam allowance and the patch and batting were pressed down in a sew and flip technique. Once the patch was flipped, the batting  butted up against the older section of the quilt but the fabric patch overlapped it. (See what I mean about the busyness of  this backing!) 

DSC_0230-th

On the front side of the quilt, the patch was brought over the batting and the raw edge on the long side was turned under. I used a zig-zag stitch around the two sides of the patch, making sure to catch the unstitched patch on the backside of the quilt. The patch was then cut even with the edge of the quilt. O and the fun part? Making a new section of binding to fill in what the dog nibbled off.

DSC_0232-th


Here's a shot of the whole quilt after the repair. The hole that was filled is in the lower left corner and the corner and binding that was fixed is not very see-able in the the shadowed lower right corner. Sorry.

DSC_0233-th

And a close up that shows both repaired sections.

DSC_0234-th
And there you have it: how I repaired my sister's quilt.

27 November 2009

A Christmas Wish Block #10

Remember the BOM from Gail Pan "A Christmas Wish"? Wanting to make a table runner rather than a square topper, I designed a tenth block -- "Cheer". So here is a freebie for you. You can snag it by clicking here or by clicking on the photo and scrolling to the bottom of the page. There are several more freebies on the page too. Enjoy!

23 November 2009

Tute, Tute, Tutsie

I think it is time for a tutorial, don't you? How about one on putting quilted sections together and hiding the seams?

As you know, The Firewood Quilt (yes, again, I mention this thing) was quilted in this manner. There was one major decision to make before quilting began: what batting is going to be used? I recommend a lighter weight batting because it will lessen the bulk of the quilt that will need to go through the harp of your domestic sewing machine. I chose a Warm and White batting by the Warm Co and that is what you will see in the following photos.

Let's begin.

Once you have the center of your quilt divided into sections you need to baste and quilt them. I did a moderate sized meander on the 4 sections of this quilt making sure to stay away from the edge about 1" or better. This will not only give a bit of room when stitching all the layers together, but when you go back and fill in this blank area with more meanders it won't stand out.

▼ ▼ ▼ ▼ ▼ ▼ ▼

Quilting In Sections-1
Photo 1
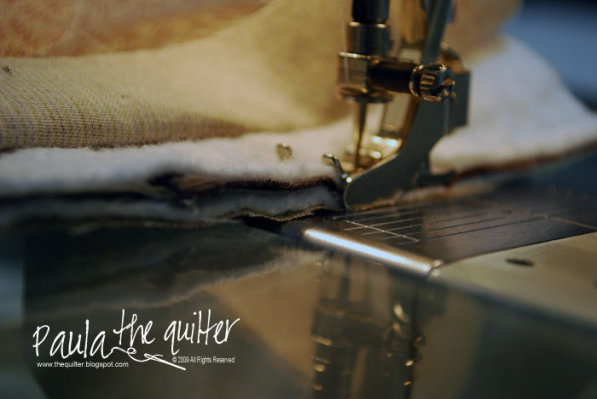
Each section consists of three layers: top, batting and backing; just consider each section as a small quilt all by itself. Make sure to trim accurately -- all layers within each quilt are even. Now, place two quilts together front-to-front and make sure all your edges are even. Fold the top layer back and pin it out of the way, you can see this in Photo #1. You will now carefully stitch 5 layers together: batting, top, top, batting, backing.

▼ ▼ ▼ ▼ ▼ ▼ ▼ 


Quilting In Sections-2
Photo 2
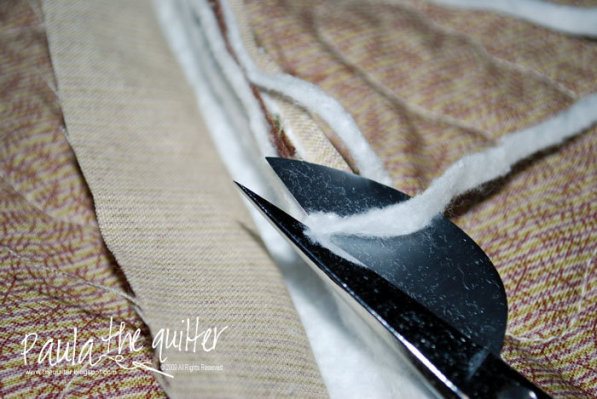
This next step is a bit fiddly but don't skimp doing this because the seam will be way too bulky. You need to trim the both batting pieces from the seam as in Photo 2. I found that spreading the joined quilts out on a table helped a lot. If you are unsure of your skills, use some child's blunt nosed scissors instead of your regular ones. In fact, I use a pair of these when I do trapunto. Be patient and take your time, you don't want to let your scissors slip on this one.

▼ ▼ ▼ ▼ ▼ ▼ ▼

Quilting In Sections-3
Photo 3
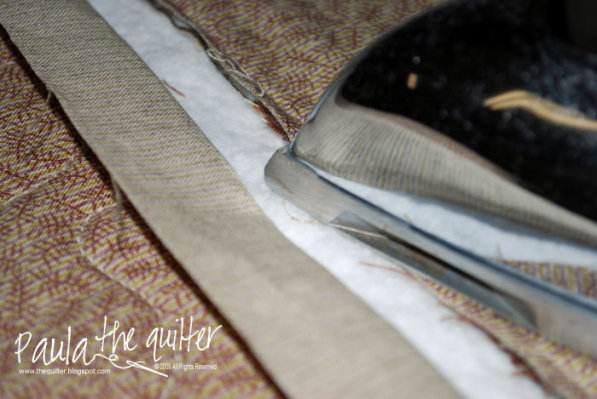
Now you need to press this seam as flat as you can get it as in Photo 3. Remember to not press a tuck in on the other side. This is just like pressing a block, only bigger. Are you with me so far?

▼ ▼ ▼ ▼ ▼ ▼ ▼

Quilting In Sections-4
Photo 4
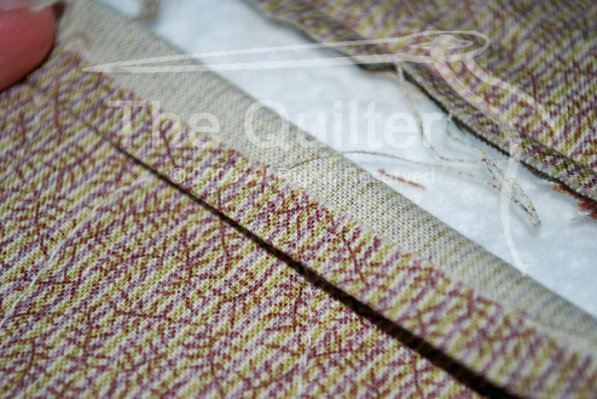
Once all the batting has been removed from the seam, we need to address the backing that was not included in the seam. Press under a quarter inch of this backing like in Photo 4.

▼ ▼ ▼ ▼ ▼ ▼ ▼

Quilting In Sections-5
Photo 5
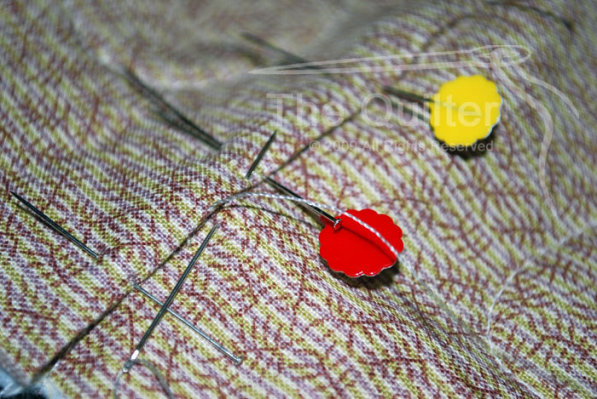
Now you get to settle in for a bit of hand stitching. I like to use as small a stitch as possible so that my stitches are hidden. I just parked my needle for the photo so this next stitch looks like it is going to be gigantic. And the doubling up of pins (you can see one silk pin on top of the red flower head pin) is just for the camera. I realized that the pins were almost invisible in the camera's eye.

Once you have these steps done, put this section under the machine needle and free motion a meander down that blank area. Pull it out from under the machine needle, admire your work and go on to the next one.

Hope this tute was helpful.

30 October 2009

A Quilting Tip

Quilting Tip
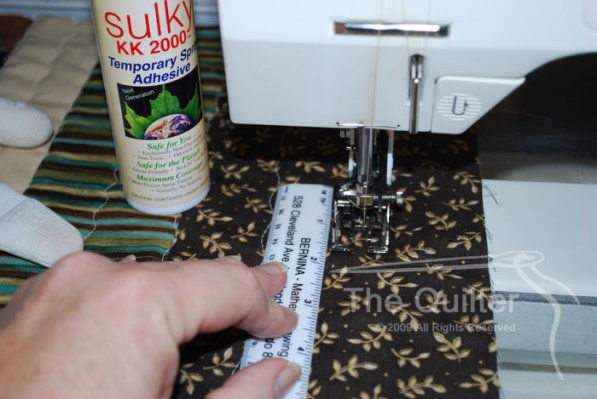
Here's a quick tip for you. I wanted to do some wavy line quilting on the borders of a quilt and I needed to keep them parallel. So I took a hint from the long arm quilters and used a small ruler. To keep it from slipping on the fabric I sprayed the bottom of the ruler with some Sulky KK 2000. Voilá! No slippage and nice straight  parallel wavy lines.

11 July 2009

10 Ways to Save Time for Quilting


1. Turn off the television. You can record the shows you want to watch and then skip through all the commercials. Or sit and do handwork with the family if you don't want to be sequestered in another room.
2. Turn your waiting times into useful times. Once again with the handwork: carry it with you for those waiting instances in the doctor's office or other appointments. I have found that knitting socks is highly portable, it's not quilting but IS fiber related.
3. Ignore the housework. This one will be hard, but learn to look the other way when the dust bunnies come out to play or when the dishes pile up. Maybe it will get so bad that someone else in the household will do it, but if that doesn't happen then maximize your housework time.
4. Shop less often. Every weekend I make a menu for the upcoming week and then shop accordingly for that week. It has reduced my trips to the grocery store to once a week.
5. Make a to-do list. Isn't it fun to mark an item off of your list? Admit it, it feels good.
6. Stop cruising the internet. Limit your computer time and turn on your sewing machine. The time (sometimes hours!) spent blog surfing could be spent putting a quilt block together.
7. Every meal does not need to be fancy. Learn to love your slow cooker. On hot days, I have even been known to set it on the patio table so it does not heat up the kitchen.
8. Stop downloading and organizing those free Block of the Month patterns and start making the ones you have. Quit procastinating!
9. Utilize those small moments. If you only have 10 minutes at a time, then break your big projects down into smaller, do-able chunks. You would be surprised at how much gets done this way.
10. Make a date with yourself. Block out several hours or a morning and write it on the calendar. You do not miss other appointments so don't miss this one.
You are worth it!