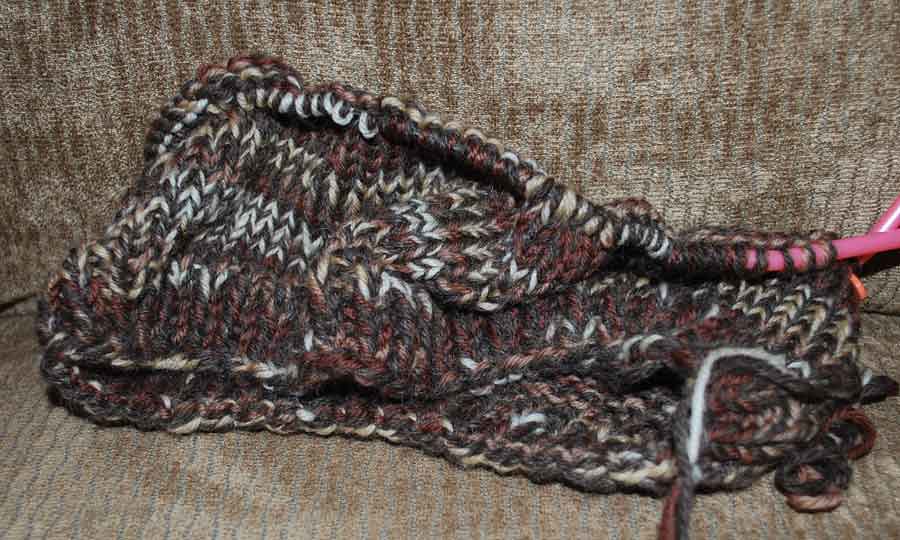
Oooooo....
I ♥ me some Wingspan. Ain't she purty?
In fact, I liked it so much when the first one came off the needles, I cast on another one. It didn't take me long to get it blocked. And the colors in the photo are true.
For more knitting projects visit Judy at Patchworktimes for a Linky.
28 September 2012
27 September 2012
Oh the Agony!
| Last evening my dining companion bit into a pickled pepper and it squirted EVERYWHERE. Including into my eye. Do you know how much that hurt? |
26 September 2012
25 September 2012
Dyeing with Kool-Aid
I recently spent a bit of time dyeing some yarn with Kool-Aid. I had 18 skeins of this hideous alpaca. Several months ago I overdyed 10 skeins using Kool-Aid and I decided it was time to finish this step of my project before cold weather (hopefully) comes. It was a prime opportunity to do a tutorial.
And lest you think this technique is only for yarn, you can also use it for wool yardage. I don't think this will work as well on cotton.
Let's get started. The yarn on the left is the original color and the yarn on the right is over dyed with Kool-Aid Black Cherry flavor. Before over dyeing the yarn I did a gauge swatch and that is when I realized the colors pooled hideously. Not good for a sweater.
Gather your supplies: a pan or tub or bowl, Kool-Aid and a microwave safe container. Don't know what color will work for you? Here's an article to read and the photos are very helpful. Just remember that in this article she started with white yarn. If you want deeper color results, just use more packets of Kool-Aid. I have used two packets for each skein.
You can see from the above photo that I use 32oz of water. It doesn't matter how much water you use, it just needs to cover your wool or yarn. Heat the water until boiling in the microwave. While that is heating, carefully empty the Kool-Aid into your pan. Carefully add your boiling water and slowly stir to dissolve. No splashing!
Your yarn or wool must be wet before adding to the dye bath. Because I don't want to shock my yarn into felting, I rinse it in tap water from the faucet and gradually turn down the cold tap. Pick up your wool or yarn with tongs and carefully arrange in your pan. Walk away and do something else for a while.
When you come back your wool or yarn should have absorbed all the color from the dye bath and the water should be clear again. Usually by now, the water is also a lot cooler if not cold. Remove your yarn or wool and carefully rinse it until the water runs clear.
Squeeze out any excess water and hang to dry. Voilá! You have successfully over dyed with Kool-Aid.
I am always asked if the yarn smells like the Kool-Aid or if it bleeds. When I block the garment, yes, it smells a bit like the Kool-Aid but faintly. No, it doesn't bleed. I have knitted several pair of socks and then Kool-Aid dyed them and in both cases, my feet did not turn either purple (grape) or green (lime).
24 September 2012
Design Wall Monday - September 24, 2012
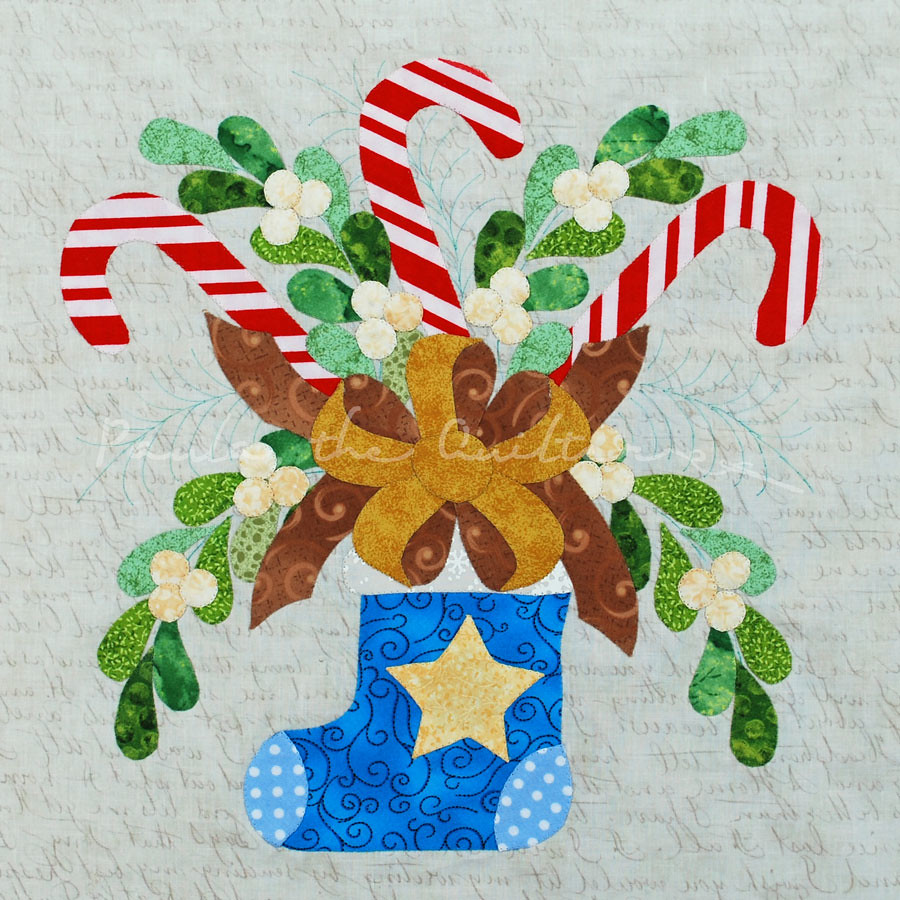
The 'fur' at the top of the stocking is too light but I am not going to take it out. I'm thinking a bit of paint might darken it. Must use a very light hand. I'm closing in on the end of the smaller blocks. Keep in mind there is the center medallion and borders too.
For more design walls please visit Patchwork Times.
21 September 2012
OTN - Friday, Sep 21, 2012
Having missed OTN last week, I thought I'd better post the current project. All the hats and Keep Me Warm vests are done and in the mail to Wool-Aid. Whew! Once the leftovers build up again, I'll make more. In the meantime, I cast on a scarf. The yarn is KnitPicks Chroma Fingering Sock Yarn in the colorway "U-Pick". The color reminds me of a sunrise or sunset. The pattern is "Wingspan" and says to make 7 or more wedges and I am halfway through #6 but there is plenty of yarn left. This pattern works quite well using a yarn that has a very long color change in the variegation.
There are more knitting projects at JudyL's blog Patchwork Times.
There are more knitting projects at JudyL's blog Patchwork Times.
17 September 2012
Design Wall Monday - September 17, 2012
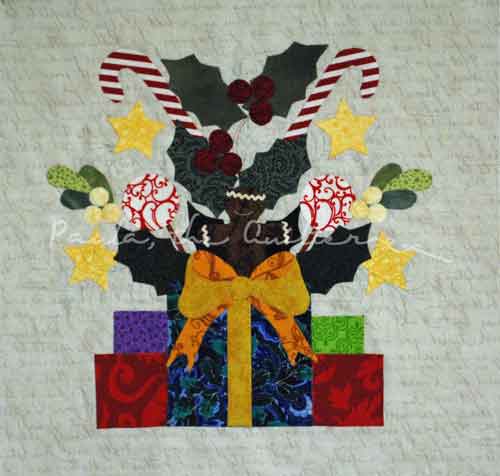
The Baltimore Christmas is being whittled down to size. Here's another block. If you click on it, hopefully you can see the faint lines where the embroidery and buttons will be stitched.
I got started on the next block, the Partridge, but I made a major mistake on the tree and had to throw half of it away. Oh, well. It's not like I don't have any more brown fabric. LOL!
For more Design Walls, please visit Patchwork Times.
And you can go here for BOMs away Monday.
I got started on the next block, the Partridge, but I made a major mistake on the tree and had to throw half of it away. Oh, well. It's not like I don't have any more brown fabric. LOL!
For more Design Walls, please visit Patchwork Times.
And you can go here for BOMs away Monday.
13 September 2012
Another view
Here is another view of the closeup from yesterday. Can you imagine piecing all those 1" squares by hand? They were cut 1.5" x 1.5 and pieced with an eighth inch seam. Have mercy.
12 September 2012
10 September 2012
Design Wall Monday - Sep 10, 2012
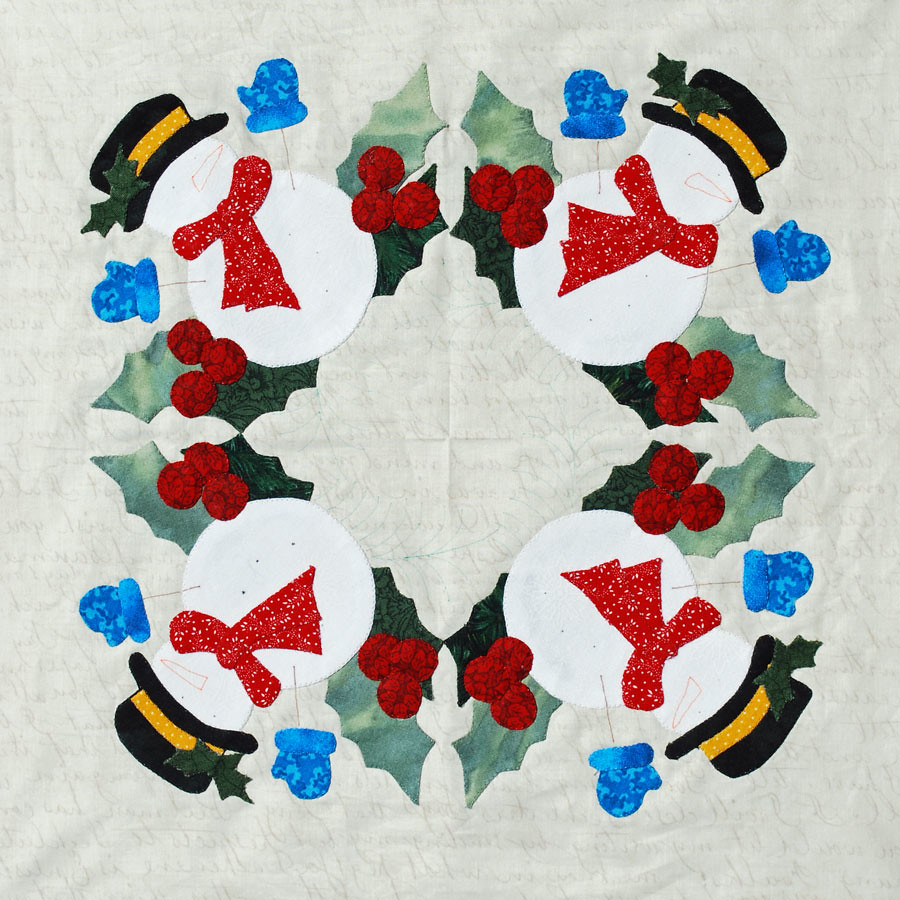
Here's another block in the Baltimore Christmas quilt. I am on a roll. Next block up is the snowman block. After that, I have 3 more plus the center and then the borders. I really am making some headway. I decided that if I ever want to get this quilt done, then I needed to work on this and this alone. Once all the applique is finished then I'll be able to move on to something else. Stay with me until then, please.
Sorry for the blurry photo. Don't know what happened here. I'll be adding the embellishments and embroidery after the quilting so right now it looks a bit strange with the gingerbread man's eyes and the shading on the mistletoe berries or even the pine boughs.
For more Design Walls please visit JudyL at Patchwork Times.
07 September 2012
On The Needles - Sep 12, 2012
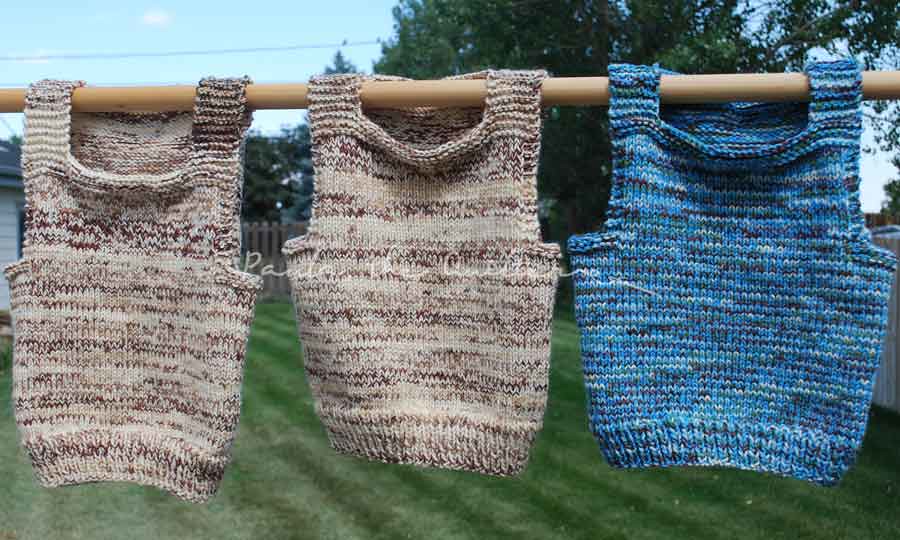
The pointy sticks have just been flying here at Casa del Quilter. In an effort to reduce the yarn stash, I have been knitting for Wool-Aid. Do you remember this post? And so the knitting continues. Here are three more completed Keep Me Warm Vests. The last photo shows the actual knitting needles with still another Keep Me Warm Vest started. Knit on!
I've linked up with more On The Needles today, visit JudyL at Patchwork Times.
I've linked up with more On The Needles today, visit JudyL at Patchwork Times.
06 September 2012
Quilting Patterns at your Feet
Do you ever notice the quilting patterns that are quite literally at your feet? I see four different sized hexagons in this metal cover. And look at that wonderful gear shape in the center!
Now look at an even older version of this cover. The design is more open and airier and the smallest component now looks more teardrop shaped than hexagon. Wouldn't it be fun to play with these designs using fabric?
Now look at an even older version of this cover. The design is more open and airier and the smallest component now looks more teardrop shaped than hexagon. Wouldn't it be fun to play with these designs using fabric?
Subscribe to:
Posts (Atom)


